Brake Pad Thickness Health Checker
Awaiting Input...
Enter a thickness value to see your brake health status, recommended actions, and potential risks.
There is a specific sound that every driver dreads. It’s not the engine sputtering or the tire blowing out. It is that high-pitched, metallic screech that happens exactly when you press down on the pedal. If you hear it, your brake pads are likely screaming for help. Ignoring this signal doesn't just annoy your passengers; it risks turning a routine stop into a dangerous slide. Knowing how to check your brakes yourself can save you hundreds of pounds in unnecessary shop visits and, more importantly, keep you safe on UK roads where weather conditions change rapidly.
The Warning Sounds: What Your Car Is Trying to Tell You
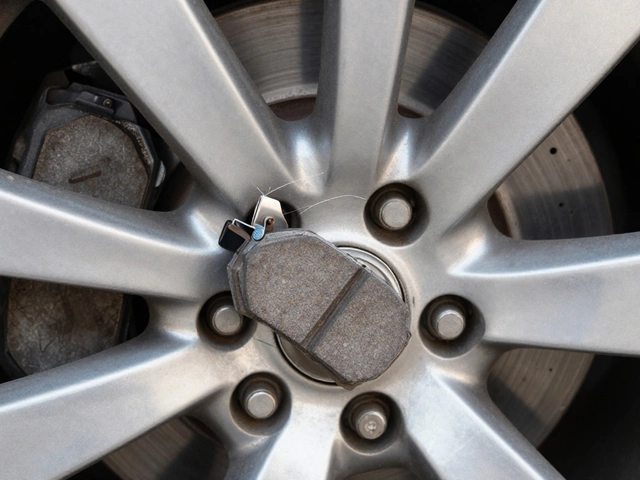
Cars communicate through noise, and brake systems have distinct voices. The most common indicator of worn brake pads is a squealing or squeaking noise. This isn't always a sign of immediate failure, but it is a deliberate design feature. Most modern vehicles come with wear indicators, which are small metal tabs embedded in the brake pad material. When the friction material wears down to a critical thickness-usually around 3 millimeters-this tab scrapes against the rotor (or disc). The resulting shriek is designed to be annoying enough to force you to visit a mechanic.
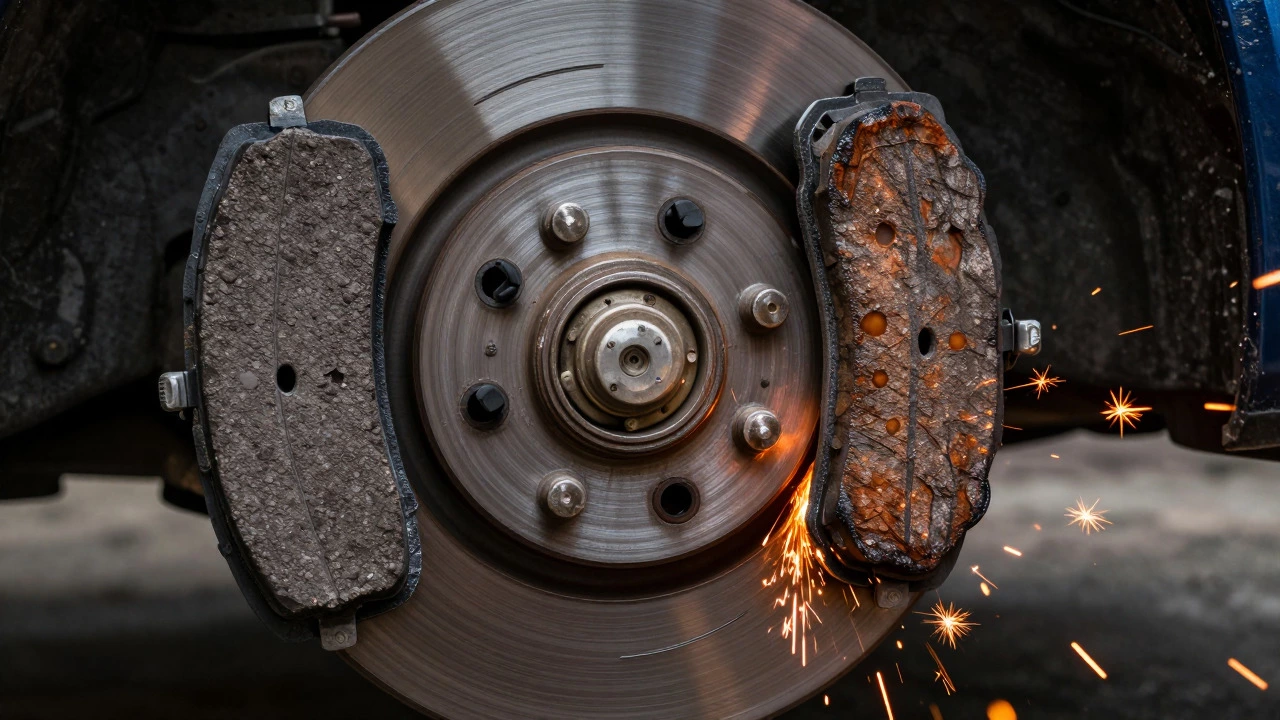
If you miss the squeal, listen for grinding. A harsh, metallic grinding sound means the wear indicator has been ignored for too long. At this stage, the metal backing plate of the brake pad is rubbing directly against the steel rotor. This creates sparks and severe damage to the rotor surface. Once you hear grinding, you aren't just replacing pads anymore; you’re likely facing expensive rotor resurfacing or replacement. Another subtle sound is a rumbling vibration felt through the brake pedal while slowing down. This often indicates warped rotors caused by uneven heat distribution from old, glazed pads.
Visual Inspection: Seeing Is Believing
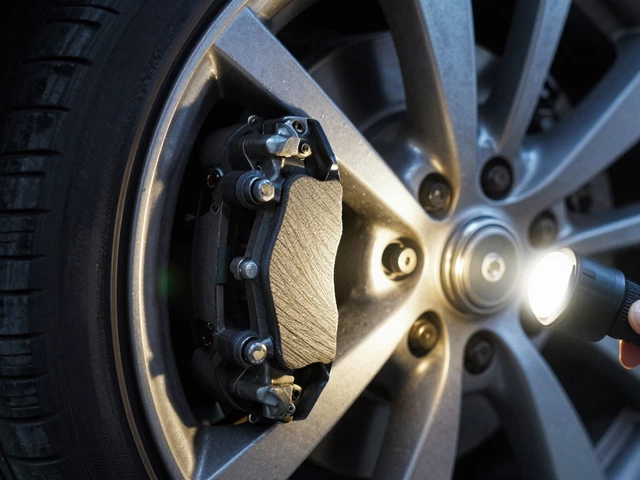
You don’t need a lift or a mechanic to see if your pads are thin. All you need is a bright flashlight and a few minutes. Park your car on a flat surface, engage the handbrake, and chock the rear wheels for safety. Loosen the wheel nuts slightly before jacking up the car, then remove one wheel. Look behind the spokes of the alloy rim. You will see the brake caliper clamping onto the rotor. Between them sits the brake pad.
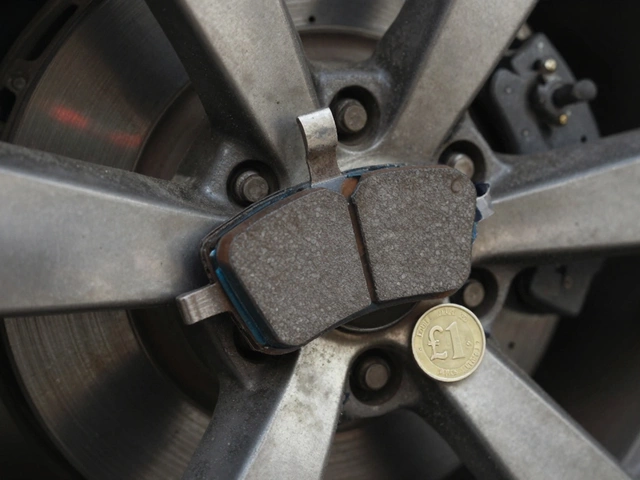
Focus on the thickness of the friction material. New brake pads are typically between 10 and 12 millimeters thick. As they wear, this layer shrinks. If you can see the entire cross-section of the pad and the friction material looks thinner than a £1 coin (which is about 2.5mm), it is time to replace them immediately. Do not rely on the metal backing plate; that part should never touch the rotor. Also, look at the rotor itself. Deep grooves or shiny spots indicate uneven wear, which suggests the calipers might be sticking or the pads were overdue for service.
| Thickness | Status | Action Required |
|---|---|---|
| 10-12 mm | New / Excellent | No action needed |
| 7-9 mm | Good | Monitor during next service |
| 4-6 mm | Fair / Wearing | Plan replacement within 1-2 months |
| 3 mm or less | Critical | Replace immediately |
Feel the Difference: Pedal Feedback and Performance
Sometimes your senses of sight and hearing won't catch the problem until your feet do. Pay attention to how the brake pedal feels under pressure. In a healthy braking system, the pedal should feel firm and consistent. If the pedal feels soft, spongy, or sinks closer to the floorboard than usual, you might have air in the brake lines or low brake fluid. However, worn pads can also cause a slight increase in pedal travel because there is less material to push against the rotor.
Notice your stopping distance. If you find yourself pressing harder or starting to brake earlier to reach the same stopping point, your pads may be glazed or excessively worn. Glazing occurs when pads overheat, causing the friction material to harden into a smooth, glass-like surface. This reduces grip significantly. You might also notice the car pulling to one side when braking. This usually indicates that one set of pads is more worn than the other, or a caliper is seized, causing uneven braking force. In wet Manchester weather, this pull becomes much more dangerous due to reduced traction.
The Dashboard Light: Don't Ignore the Icon
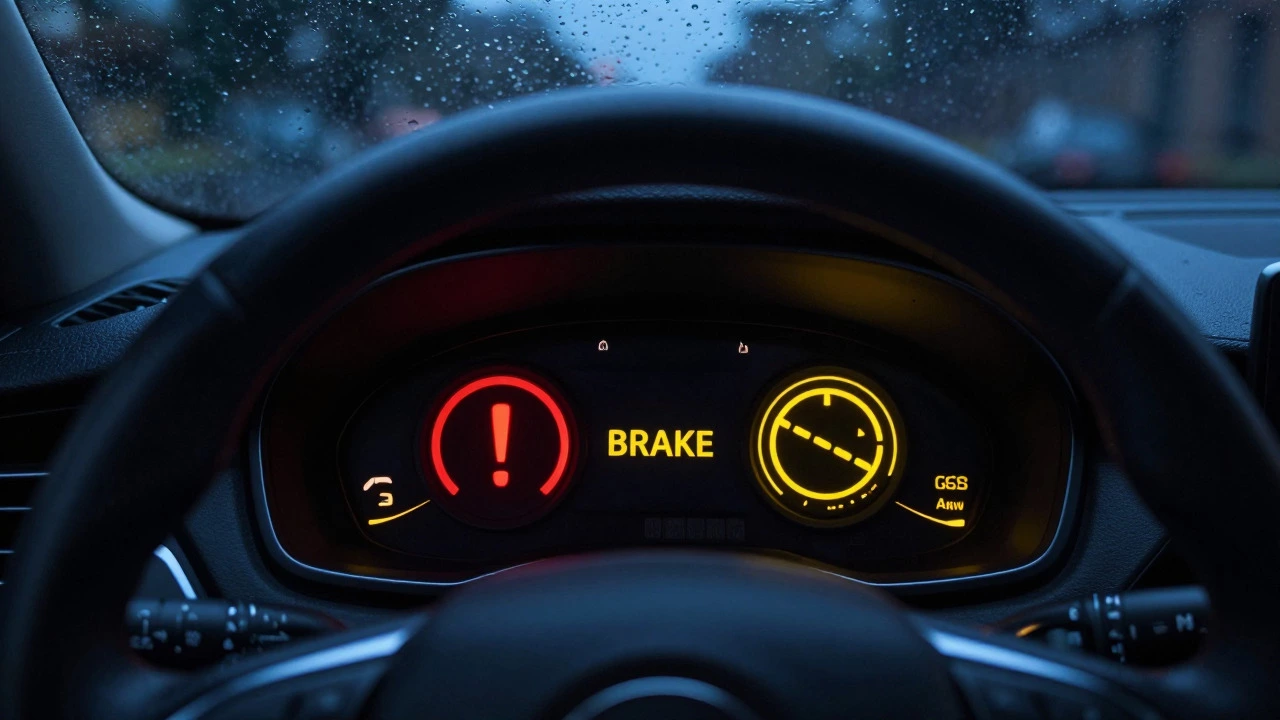
Modern cars are equipped with electronic sensors that monitor brake health. Keep an eye on your dashboard for two specific lights. The first is the red exclamation mark inside a circle, often labeled "BRAKE." This light usually indicates that the handbrake is engaged, but if it stays on after releasing the handbrake, it signals low brake fluid level-a potential leak or severely worn pads pushing pistons further out. The second is a yellow or orange icon showing a circle with dashed lines around it, often labeled ABS. While this primarily relates to the Anti-lock Braking System, persistent issues here can affect overall braking efficiency.
Some luxury vehicles also have a dedicated brake pad wear warning light, often depicted as a brake pad with arrows pointing inward. If this illuminates, the sensor wire embedded in the pad has been cut through by wear. Unlike the audible squealer, this gives you no auditory warning, making regular visual checks even more crucial for these models.
When to Replace vs. When to Monitor
Not every squeak requires an emergency garage visit. Sometimes, dust buildup or moisture on the pads causes temporary noise that clears up after a few stops. However, if the noise persists for more than a week, assume the worst. For city drivers who stop frequently, brake pads wear out faster than for those who mostly drive on motorways. A good rule of thumb is to inspect your brakes every 10,000 miles or during every oil change.
If your pads are between 4 and 6 millimeters, you have some time. You can continue driving but should budget for replacement soon. If they are below 4 millimeters, plan to replace them within the month. Waiting longer risks damaging the rotors, which doubles the cost of the repair. Remember, front brakes wear out twice as fast as rear brakes because they handle approximately 70% of the braking force during deceleration.
DIY Check vs. Professional Service
Checking your own brake pads is a simple task that requires minimal tools. You gain peace of mind and avoid being upsold on unnecessary services. However, actual replacement involves dealing with compressed springs, lubricating caliper slides, and bleeding brake fluid if the pistons are pushed back too far. If you are comfortable with basic mechanics, you can buy ceramic brake pads known for low dust and quiet operation or semi-metallic pads for better heat dissipation. For most people, taking the car to a trusted garage is safer. Ensure they use quality parts and inspect the entire braking system, including hoses and calipers, not just the pads.
How often should I replace my brake pads?
There is no fixed mileage for brake pad replacement as it depends heavily on driving style and conditions. City driving with frequent stops wears pads faster than highway cruising. Generally, front pads last between 30,000 to 50,000 miles, while rear pads can last 50,000 to 70,000 miles. Always check thickness visually every 10,000 miles.
Is it safe to drive with worn brake pads?
Driving with pads below 3mm is unsafe. Reduced friction increases stopping distances, especially in wet conditions. If the metal backing touches the rotor, you risk overheating the brakes, leading to brake fade where the pedals become unresponsive. Replace them immediately if you hear grinding.
Why do my brakes squeak only in the morning?
Morning squeaks are often caused by surface rust on the rotors or condensation on the pads overnight. This usually disappears after a few gentle stops as the heat removes the moisture and rust. If the noise continues throughout the day, the pads are likely worn or glazed.
Can I replace brake pads myself?
Yes, replacing brake pads is a manageable DIY project for those with basic mechanical skills. You will need a jack, wheel brace, C-clamp to compress caliper pistons, and brake grease. However, if you are unsure about bleeding the brakes or handling stuck calipers, professional assistance is recommended to ensure safety.
What is the difference between ceramic and semi-metallic brake pads?
Ceramic pads are quieter, produce less dust, and are gentler on rotors, making them ideal for daily commuting. Semi-metallic pads offer better heat resistance and initial bite, suitable for heavier vehicles or aggressive driving, but they tend to be noisier and create more brake dust.