Radiator Replacement Time Calculator
Estimated Time Required
Based on your selections, this is the estimated time needed for your radiator replacement.
Important Notes
- Professional replacements typically take 4-6 hours of labor
- DIY installations may take 1-2 additional days due to setup time
- Complications can add 30-60 minutes per issue
- Shop appointments may require 1-2 additional days for parts and scheduling
Key Takeaways
- Typical professional install: 4‑6hours, often completed in a single day.
- DIY installs can stretch 1‑2days depending on experience and tools.
- Factors that stretch the job: rusted bolts, hidden leaks, special vehicle layouts, and coolant system flushing.
- Scheduling a shop appointment usually adds 1‑2days for parts ordering and bay availability.
- Proper planning (drain, flush, pressure test) prevents surprise delays.
When it comes to radiator is a key component of a car's cooling system that transfers heat from the engine to the surrounding air, you often wonder how many days it actually takes to replace it. The short answer is: most shops finish the job in a single day, but the total calendar time can be longer because of parts availability, vehicle‑specific quirks, and whether you tackle the job yourself.
What Makes Up a Radiator Replacement?
Before you count days, understand the steps involved. A typical replacement follows this flow:
- Gather tools and safety gear.
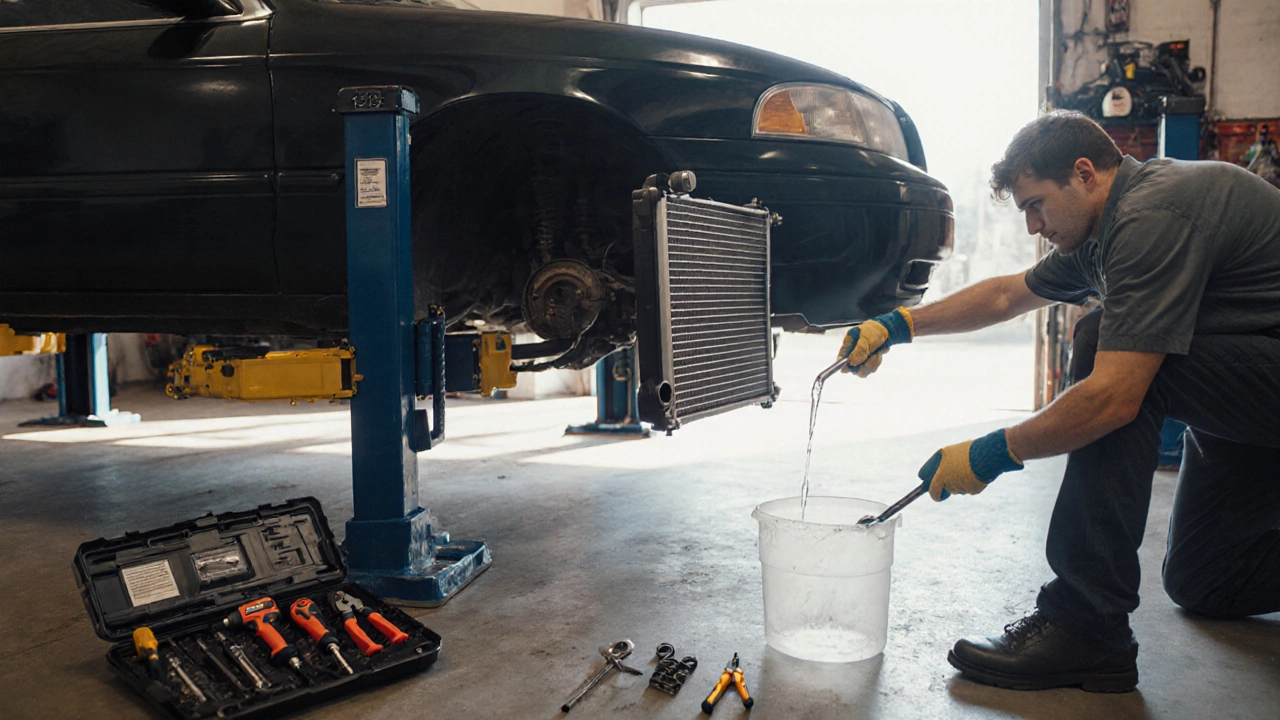
- Drain the coolant (the fluid that absorbs engine heat and circulates it through the radiator) from the system.
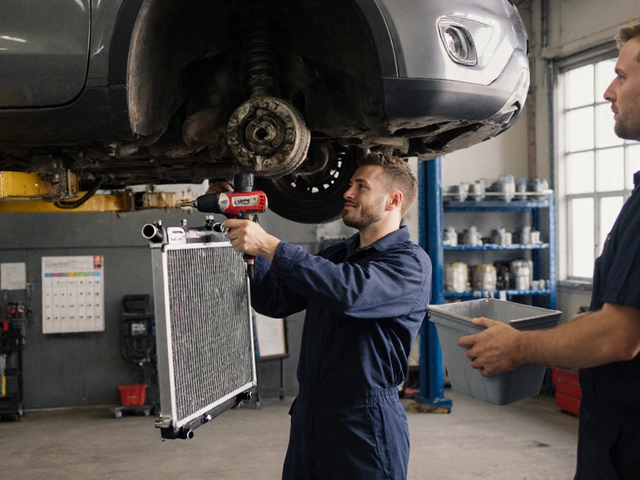
- Remove the old radiator (unbolt, disconnect hoses, detach the fan if required).
- Inspect the surrounding hoses, clamps, and the thermostat housing for wear.
- Install the new radiator, torque bolts to spec, and reconnect all hoses.
- Refill with fresh coolant, bleed air, and perform a pressure test (a test that pressurizes the cooling system to reveal leaks before the engine runs).
- Start the engine, monitor temperature, and check for leaks.
Each of these steps can vary in length based on vehicle make, part accessibility, and your familiarity with the process.
Typical Timeframes in a Professional Shop
Most reputable garages assign between 4‑6hours of labor to the job. That translates to one calendar day, assuming the shop has the radiator on hand. However, you need to factor in three additional elements that affect the overall days taken:
- Parts procurement: If the radiator isn’t stocked, the shop will order it. Lead times range from same‑day (common models) to 3‑5days for rare or imported units.
- Bay scheduling: Busy workshops may have a waiting list. Expect a 1‑2day wait for an open slot.
- Complications: Rusted bolts, broken hose brackets, or a stuck fan shroud can add an extra hour or two.
When you add the logistics, most customers see a total of 2‑4calendar days from the moment they call the shop to the moment they drive away with a fresh radiator.
DIY Radiator Replacement: How Long Should You Expect?
Doing it yourself can be satisfying, but it usually takes longer than a pro. Here’s a realistic breakdown for a competent DIYer with a decent set of tools:
- Preparation & safety: 30‑45minutes (getting the car lifted, draining coolant, wearing gloves).
- Removal of old unit: 1‑1.5hours (depends on bolt condition and access).
- Inspection & optional part swaps: 30‑45minutes (replace worn hoses or thermostat if you spot them).
- Installation of new radiator: 1‑1.5hours (aligning, torquing, reconnecting).
- Refill, bleed, and test: 45‑60minutes.
Total hands‑on time: roughly 4‑5hours. Most DIYers spread this over a Saturday or a half‑day, so the calendar impact is usually 1‑2days. If you run into rusted bolts or need a special torque wrench, add an extra day for troubleshooting.
Factors That Can Stretch the Timeline
Whether you’re in a shop or the garage, a few variables can push the job beyond the average:
| Factor | Impact on Time | Typical Mitigation |
|---|---|---|
| Vehicle make/model | High‑performance or European cars often hide the radiator behind brackets or the front bumper. | Consult a model‑specific service manual before starting. |
| Corroded fasteners | Can add 30‑60minutes per bolt if they need penetrating oil or impact tools. | Apply penetrating spray a few hours ahead of time. |
| Coolant flush required | An extra 30‑45minutes if the old coolant is contaminated. | Use a flush kit to speed up the process. |
| Parts availability | Ordering a rare radiator can add 2‑5days. | Confirm stock before booking the appointment. |
| Additional repairs discovered | Replacing a cracked hose or a faulty thermostat can double the labor. | Perform a visual inspection before committing to the swap. |
Being aware of these “gotchas” helps you set realistic expectations and avoid surprise delays.
DIY vs. Professional: A Quick Comparison
| Aspect | Do‑It‑Yourself | Professional Shop |
|---|---|---|
| Typical hands‑on time | 4‑5hours | 4‑6hours |
| Calendar days | 1‑2days (depends on availability of space) | 2‑4days (parts + scheduling) |
| Cost | Tool investment + radiator price | Labor (≈£80‑£120 per hour) + radiator |
| Warranty on work | None (unless you have a personal guarantee) | Usually 12‑24months on labor |
| Risk of mistakes | Higher if unfamiliar with bleeding or torque specs | Low - certified technicians follow OEM procedures |
Both routes get the job done; choose the one that fits your schedule, budget, and confidence level.
Essential Tools and Equipment (First‑time Definitions)
Having the right gear can shave hours off the process. Below are the primary tools you’ll need, each introduced once with microdata:
- Torque wrench (ensures bolts are tightened to the manufacturer’s specified Nm value)
- Impact driver (helps loosen rusted bolts quickly without stripping)
- Coolant flush kit (pushes old coolant out and circulates fresh fluid to clean the system)
- Jack and stands (securely lift the vehicle to give you room under the engine bay)
- Hose clamp pliers (allow you to remove and reinstall hose clamps without damaging them)
Investing in these tools upfront pays off for future cooling‑system work and other maintenance tasks.
Scheduling Your Replacement: Step‑by‑Step Guide
- Identify your vehicle’s exact radiator part number (check the owner’s manual or a reputable parts catalog).
- Call at least two local garages to confirm stock and ask for an estimate of labor hours (the time a mechanic spends on the job, usually billed hourly). Note any mention of additional time for flushing or inspections.
- If you plan DIY, order the radiator online and request a “next‑day” shipping option if possible.
- Gather all required tools (see the list above) and a suitable drainage container.
- Clear your schedule for at least half a day; have a friend help you with lifting the car.
- Follow the step‑by‑step procedure outlined earlier, pausing to double‑check torque specs and hose routing.
- After installation, run the engine for 10‑15minutes, monitoring temperature gauges and checking for leaks.
- Dispose of old coolant responsibly (many garages accept it for free).
Following this roadmap minimizes downtime and reduces the chance of a surprise re‑visit.
What If Something Goes Wrong?
Even the best‑prepared jobs can hit a snag. Here’s how to troubleshoot common setbacks:
- Engine overheats after start‑up: Verify the coolant level, re‑bleed the system, and check that the thermostat is seated correctly.
- Coolant leaks from hose connections: Re‑tighten clamps, replace damaged hoses, and use a sealant only if the manufacturer recommends it.
- Radiator fan doesn’t spin: Ensure the fan wiring is reconnected, test the fan relay, and inspect the fan motor for seized bearings.
If you’re stuck, a quick call to your garage or a local mechanic can save hours of guesswork.
Frequently Asked Questions
How long does a professional radiator replacement usually take?
Most shops allocate 4‑6hours of labor. Including parts ordering and bay scheduling, customers typically see the car back in 2‑4calendar days.
Can I replace a radiator in one day at home?
Yes, if you have the right tools and the bolts aren’t seized. Expect 4‑5hours of hands‑on work, so a Saturday or a half‑day is realistic.
What factors make a radiator swap take longer?
Rusted fasteners, hidden radiator locations (common on European makes), need for a coolant flush, and discovering additional leaks or a bad thermostat can each add 30‑60minutes or more.
Do I need to replace the thermostat when I change the radiator?
Not mandatory, but it’s a good preventive measure. The thermostat is cheap, and if it’s old, replacing it while the system is already open saves future headaches.
How much coolant should I use after installing a new radiator?
Follow the vehicle’s specifications-typically 4‑6liters of a 50/50 mix of antifreeze and distilled water. Over‑filling can cause pressure issues; under‑filling leads to air pockets.