Radiator Replacement Mess & Prep Estimator
Complete more prep steps to reduce spill risk and frustration.
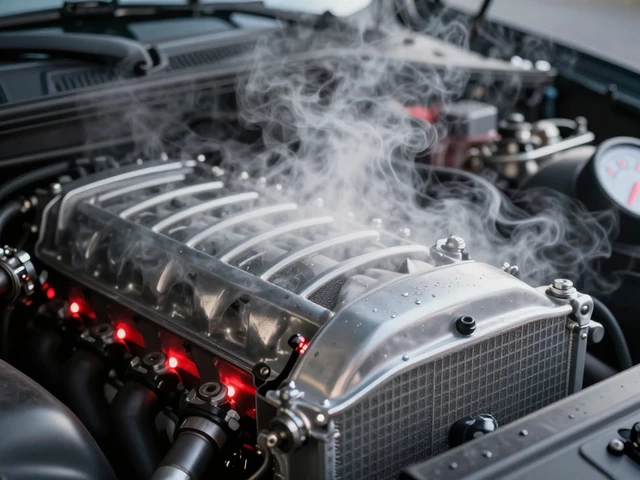
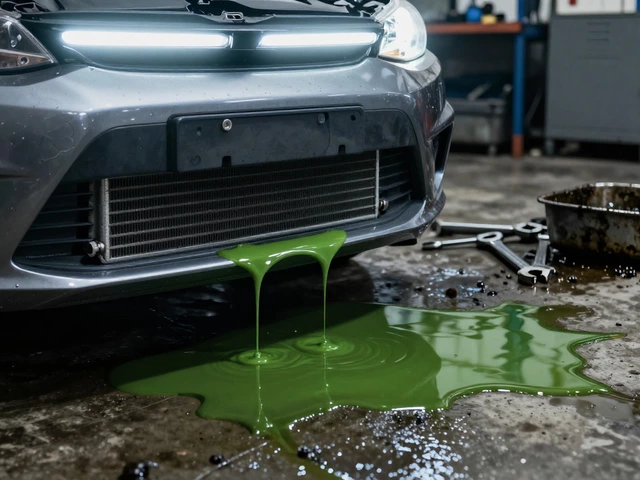
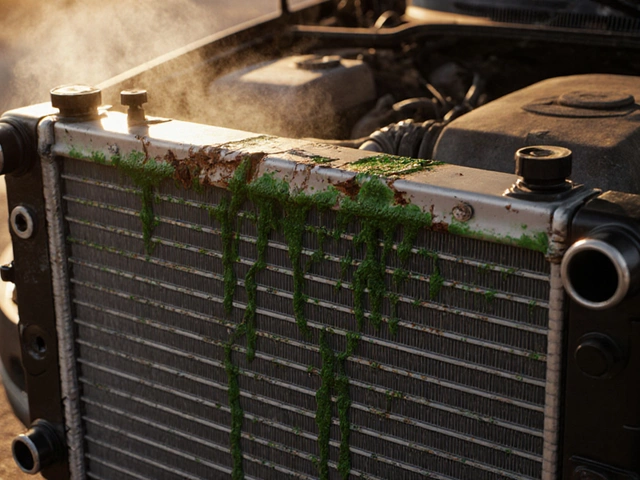
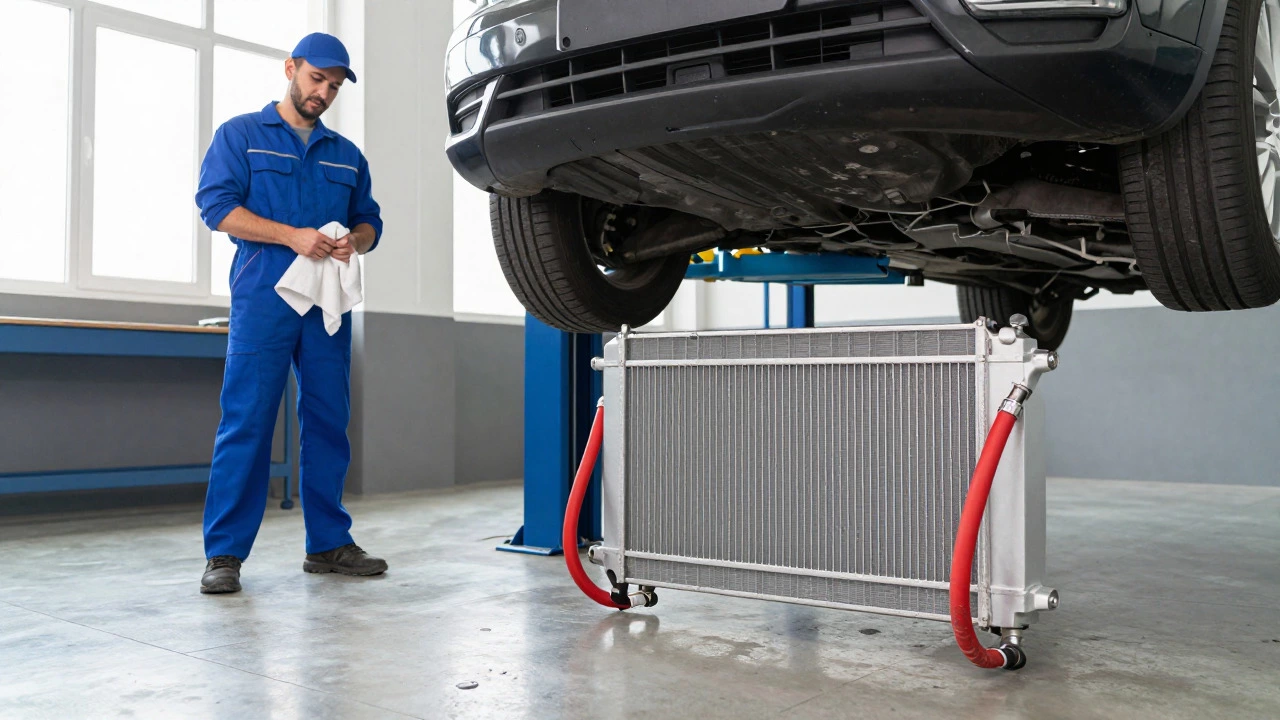
You’re staring at a puddle of green or orange fluid under your car. The temperature gauge is creeping up. You know it’s the car radiatora heat exchanger that cools the engine by transferring heat from the coolant to the air. But before you grab a wrench, you’re wondering: how bad is the mess? Is this a garage nightmare or a manageable weekend task?
The short answer is: yes, it’s messy, but not unmanageable if you prepare. Most people underestimate the volume of coolant and the difficulty of draining it completely. If you’ve never done it, expect to get your hands dirty and spend more time cleaning than tightening bolts. Here’s what actually happens when you swap a radiator.
Why Radiator Jobs Get Dirty
Coolant isn’t water. It’s a mixture of ethylene glycol and additives designed to prevent freezing and boiling. When you crack open the system, gravity does the rest. The old coolant can be dark, oily, or stained with rust if the car has been neglected. Unlike oil changes where you catch everything in a tray, radiator work involves hoses, clamps, and often difficult-to-reach drain plugs.
Here’s the reality: even if you put a drain pan under the car, you’ll still spill. Why? Because the coolant sits in multiple places. It’s in the radiator itself, in the engine block, in the heater core (which runs through the dashboard), and in the hoses. To replace the radiator properly, you usually have to drain the entire cooling system. That means pulling the lower radiator hose, which often leaks around the clamp area. One wrong move, and you have a stream of hot, sticky liquid shooting out.
Preparation Makes or Breaks the Job
If you want to minimize the chaos, preparation is key. Don’t just show up with a new part and hope for the best. Start by letting the engine cool down completely. Touching a hot radiator cap is a fast way to burn yourself. Once it’s cold, gather your tools. You’ll need socket sets, pliers for hose clamps, a funnel, a large drain pan, and plenty of rags. Yes, lots of rags.
Before you start draining, inspect the hoses. Old rubber cracks easily. If a hose splits while you’re trying to remove it, you lose control of the flow. Consider buying new upper and lower radiator hoses while you’re at it. They’re cheap insurance against extra mess. Also, check if your car has a drain plug on the bottom of the radiator. Some modern cars do; older ones might require you to pull the hose instead. Knowing this ahead of time saves you from scrambling mid-job.
The Step-by-Step Mess Factor
Let’s walk through the process so you know exactly where the spills happen.
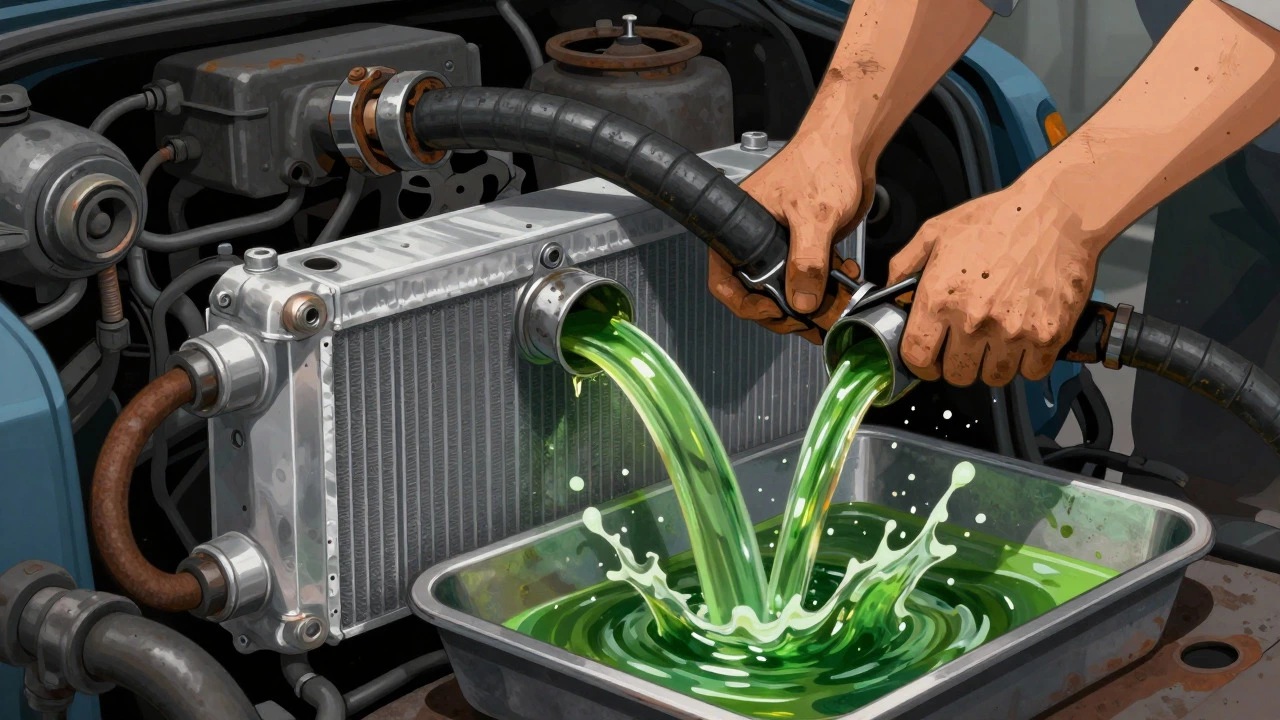
- Drain the System: Place your pan under the car. Open the radiator cap (carefully). Then, either open the drain plug or loosen the lower hose clamp. This is where most of the mess starts. Coolant will pour out faster than you think. Keep a rag handy to wipe drips immediately.
- Remove the Fan and Shroud: On many cars, the fan is mounted directly to the radiator. You’ll need to disconnect electrical connectors and unbolt the fan assembly. This step isn’t messy, but it’s fiddly. Losing small screws here adds to the frustration.
- Disconnect Hoses and Fans: Now you’re removing the top and bottom hoses. These are often tight. Use a flathead screwdriver to gently pry them off if they’re stuck. Again, expect residual coolant to drip as you separate each component.
- Unbolt the Radiator: The radiator is held by brackets at the top and sometimes the bottom. Once loose, lift it out carefully. It’s heavy and full of residual fluid. Have a second person help you hold it steady.
- Install the New Unit: Fit the new radiator. Reconnect the hoses. Tighten clamps securely but don’t over-tighten, or you’ll crush the rubber.
- Refill and Bleed: This is the tricky part. You need to fill the system with fresh coolant mixed according to the manufacturer’s ratio. Air pockets are the enemy here. If you don’t bleed the system correctly, the car will overheat later. Follow the specific bleeding procedure for your car model, which usually involves running the engine with the heater on max until bubbles stop appearing.
Comparison: DIY vs. Professional Shop
Should you do this yourself? It depends on your comfort level with mechanics and your budget. Here’s a quick comparison to help you decide.
| Factor | DIY Approach | Professional Shop |
|---|---|---|
| Cost | £150-£300 (parts only) | £400-£800 (parts + labor) |
| Mess Control | High risk of spills in home garage | Managed with industrial vacuums and lifts |
| Time Required | 4-8 hours (including cleanup) | 2-4 hours (professional efficiency) |
| Risk of Error | Air locks, stripped bolts, hose damage | Low, with warranty coverage |
| Skill Level | Intermediate to Advanced | Not required |
If you’re comfortable working under a car and have basic tools, DIY is feasible. But if your car has a complex front-end layout (like some German or luxury brands), the space constraints make the mess worse. In those cases, paying a pro might save you from stripping a bolt and ruining the day.
How to Clean Up Like a Pro
Even if you do everything right, you’ll have coolant everywhere. Here’s how to handle the aftermath without damaging your floor or car.
- Use Absorbent Pads: Regular paper towels disintegrate quickly. Buy automotive absorbent pads or use old shop towels. They handle wet coolant better.
- Wash Immediately: Coolant is slippery. If it dries on concrete, it becomes a stain. Rinse the area with water and degreaser while it’s still wet.
- Check for Leaks: After refilling, run the engine and check all connections. A small drip now is easier to fix than a flood later.
- Dispose Properly: Don’t pour old coolant down the drain. Take it to an auto parts store or recycling center. It’s toxic to pets and wildlife.
Common Mistakes That Make It Worse
Most messes come from rushing. Here are the errors that turn a standard job into a disaster.
- Forgetting the Heater Core: Some cars require you to drain the heater core separately. If you miss this, you’ll have leftover coolant leaking from the dashboard vents later.
- Over-Tightening Clamps: Hose clamps should be snug, not crushed. Over-tightening causes the rubber to bulge and eventually burst, leading to a massive leak.
- Skipping the Flush: If the old coolant was rusty or contaminated, mixing it with new fluid can cause corrosion. A proper flush takes time but prevents future issues.
- Ignoring Torque Specs: Radiator brackets and bolts have specific torque settings. Using too much force can crack the plastic housing of the radiator or strip the threads.
Frequently Asked Questions
How much coolant does a car radiator hold?
Most passenger cars hold between 4 and 7 liters of coolant in the total cooling system. The radiator itself typically holds about 2 to 3 liters. Always check your owner’s manual for the exact capacity of your vehicle.
Can I change a radiator without draining the whole system?
Technically, yes, but it’s not recommended. If you only drain the radiator, you leave old coolant in the engine block and heater core. This can lead to contamination and reduced cooling efficiency. A full system drain is the standard practice for a reliable repair.
What type of coolant should I use for my new radiator?
Use the coolant specified by your car manufacturer. Mixing different types (e.g., OAT and IAT) can cause gelling and clogs. Check your owner’s manual or the label on the old coolant reservoir. Common types include G12, G13, and G16 for European cars, and Dex-Cool for American vehicles.
How long does it take to replace a car radiator?
For a professional mechanic, it usually takes 2 to 4 hours. For a DIY enthusiast, plan for 4 to 8 hours, including time for draining, installing, refilling, bleeding the system, and cleanup. Complex cars with tight engine bays may take longer.
Is it worth repairing a cracked radiator instead of replacing it?
Generally, no. Radiators are made of aluminum and plastic, which are difficult to weld or patch reliably. A temporary patch might last a few weeks, but the risk of failure remains high. Since replacement radiators are relatively affordable compared to labor costs, replacement is usually the better long-term solution.